
Learn how to seal an exterior door frame, remove old sealant, add insulation, apply new weather stripping, and seal gaps. This guide ensures your home is draft-free and energy-efficient.
Table of contents
Safety Measures Before Sealing an Exterior Door Frame
When undertaking a project like sealing an exterior door frame, safety should always be your top priority. Here are some essential safety measures to keep in mind before you begin:
- Wear Protective Gear: Always wear safety glasses to protect your eyes from dust and debris, especially when scraping off old sealant or cutting weather stripping. Gloves are also recommended to safeguard your hands from sharp edges and chemicals in sealants and foam insulation.
- Read Product Labels Carefully: Before using any sealant, foam insulation, or other chemical products, read the label instructions and warnings. This will inform you about any specific safety precautions, like avoiding skin contact or inhalation.
- Use Tools Properly: Familiarize yourself with the tools required for the job. Use each tool as intended and with care. For instance, when using a utility knife or hacksaw, cut away from your body to reduce the risk of injury.
Tools and Materials Needed
These tools and materials will equip you to effectively seal your exterior door frame, ensuring better insulation and protection for your home.
| Utility Knife Razor Blade Paint Scraper Spray Foam Insulation (Doors & Windows Grade) High-Performance, Exterior-Grade Sealant Foam Backer Rod Weather-stripping Kit Tape Measure Hacksaw Screwdriver |
Preparing the Door Frame
Begin by cleaning the door frame and checking for damage. Remove any old sealant and weather-stripping, ensuring the frame is clear of residue. This preparation is key for successful resealing, ensuring the new materials adhere well and provide effective insulation.
Cleaning and Inspecting the Area
Before you start sealing your door frame, it’s important to clean and inspect it thoroughly. Start by gently wiping down the frame with a damp cloth to remove any dirt or debris. Pay close attention to the corners where dirt often accumulates. Once it’s clean, inspect the frame for any signs of damage, like cracks or rot, especially in older frames. If you find small cracks, don’t worry – these can usually be filled in with sealant. However, larger areas of damage might need more extensive repair before sealing.
If your exterior door is beyond repair and the gaps are too large to seal effectively, it might be time to contact Madison Door for a consultation. They excel in providing top-tier replacement for exterior doors.
Removing Old Sealant and Weather-stripping
When it’s time to reseal your exterior door, the first step is to get rid of the old weather-stripping and sealant. If you notice the plastic weather-stripping is falling apart or the caulk around the door is cracking and coming loose, it’s a clear sign they need to be replaced.
Start by carefully cutting out the failing caulk bead with a utility knife. A handy tip for removing caulk is to use a razor blade. Make cuts along both edges of the caulk bead – this technique often allows you to pull out the entire bead in one go, like pulling a rope out of a joint.
After removing the bulk of the caulk, there might still be some leftover bits. Here, a paint scraper becomes useful. Gently scrape off any remaining caulk film. This step is crucial because any residue left behind can prevent the new caulk from sticking properly. By thoroughly cleaning and preparing the surface, you ensure that your new sealant and weather-stripping will adhere well and provide better insulation.
Insulating the Frame
Before you move on to sealing your door frame, it’s a good idea to first address any gaps in the framing using spray foam insulation. This type of insulation is great because it not only blocks air and water from getting through the gaps but also acts as a thermal break. This means it helps reduce heat loss, keeping your home warmer in winter and cooler in summer.
However, when you’re using spray foam around doors (and windows), it’s important to pick the right type. Look for a product labeled specifically for “Doors & Windows.” These products use a low-expanding foam, which is key to avoiding damage. Why is this important? Well, standard spray foam can expand a lot, and this might warp the door jamb or frame. If that happens, you might have trouble opening or closing your door. But with low-expanding foam, you can fill those gaps effectively without worrying about over-expansion causing any issues.
By starting with proper insulation, you set a solid foundation for sealing your exterior door frame, ensuring better energy efficiency and functionality in your home.
Applying the New Sealant
Sealing all seams and joints around your exterior door is crucial for maintaining the energy efficiency of your home. The more intricate the trim around the door, the more seams there will be to caulk, and each of these small gaps can lead to significant heat loss in winter or cool air loss in summer.
To start, select a high-performance, exterior-grade sealant. You’ll want a product that provides strong adhesion and remains flexible, allowing it to move with the natural expansion and contraction of construction materials due to temperature changes.
There are several types of sealants to consider:
- Silicone sealants: Highly flexible and waterproof, making them ideal for areas exposed to heavy rain or extreme temperatures.
- Acrylic latex sealants: Easier to clean and paint over, suitable for areas where you might want to paint the sealant to match the door or trim.
- Polyurethane foam sealants: Great for larger gaps, offering excellent insulation and adhesion properties.
Remember, not all sealants can be painted over, so if you plan to paint the sealed area, check the product label first. For gaps wider than 1/4 inch, use a foam backer rod first. This rod fits into the gap, providing a base for the sealant. Apply the caulk over the backer rod, smoothing it into an hourglass shape. This shape ensures the strongest bond and most effective seal, keeping your home cozy and well-insulated year-round.
We discovered an informative YouTube video that demonstrates how to apply sealant effectively. For additional guidance, consider watching this video.
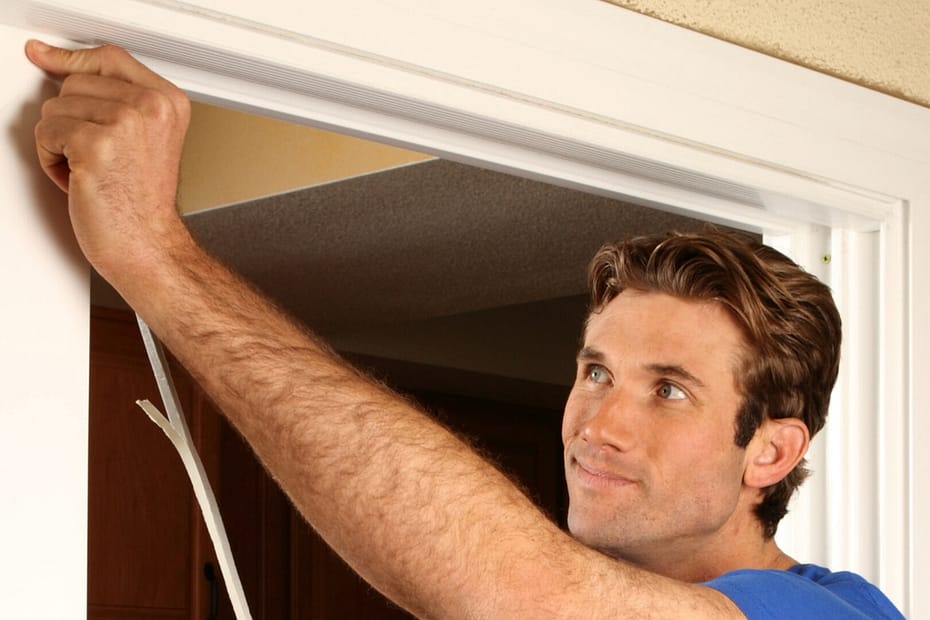
Installing New Weather-stripping
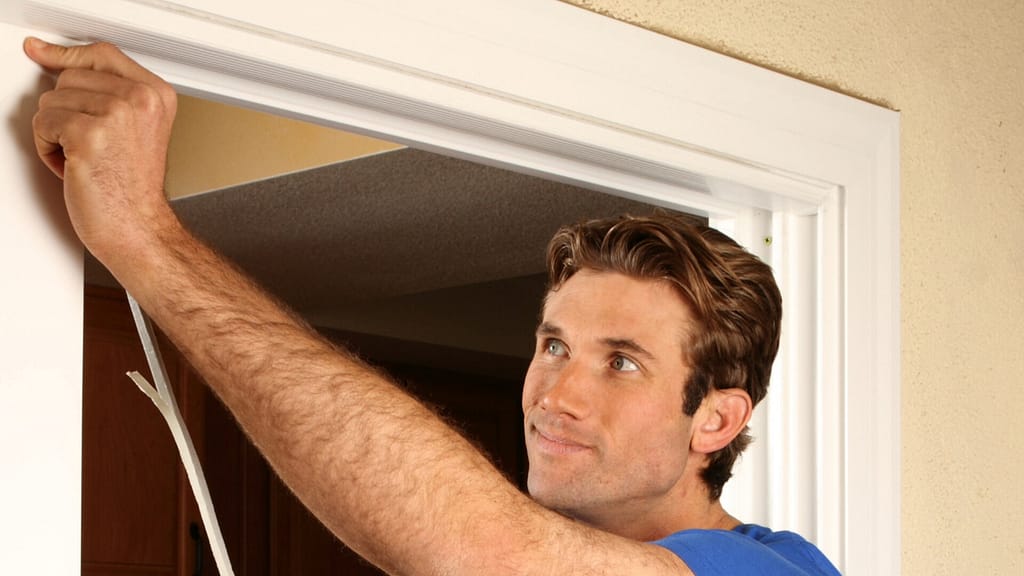
When it’s time to replace the weather-stripping on your exterior door, you’ll find several types at your local hardware store. One popular option is a kit that includes a rigid aluminum bar lined with a soft rubber gasket, often referred to as a bulb. This type of weather-stripping is effective because when you attach it to the door jamb, the bulb compresses against the door, blocking air and moisture. The kit typically comes with three pieces – one for the top and two for the sides of the door – and all can be trimmed to fit your door’s dimensions.
To install, first measure the length from the bottom to the top of the door frame. Cut the aluminum bar with a hacksaw and the rubber gasket with a utility knife. It’s better to cut these pieces a bit longer than needed and then trim them down for a perfect fit.
Attach the weather stripping to the door jamb with the door closed, ensuring the bulb compresses against the door. Start the screws that come with the kit but don’t fully tighten them yet. This allows for adjustments as you install.
Measure, cut, and attach the second side strip in the same way. Then, measure the distance between the side strips to get the right length for the top piece. Once all three pieces are in place, close the door to check the seal. Adjust the strips so the bulb is properly compressed against the door, ensuring a good seal without over-compressing the bulb (which could damage it).
Finally, when you’re happy with the placement, tighten the screws by hand using a screwdriver. Avoid using a power driver as it could over-tighten the screws and deform the metal strip. With this careful installation, you’ll have effectively sealed off any gaps, improving your home’s insulation.
Different weather-stripping materials include:
- Foam Weather-stripping: Easy to install and great for irregular gaps but less durable.
- Rubber Bulb (as mentioned): Provides a strong seal and is durable, ideal for door jambs.
- Felt: Affordable and easy to install but not as effective in wet conditions.
- Vinyl: More durable than foam and felt, good for various weather conditions.
For additional guidance on installing weather stripping, check out this YouTube video.
Why Sealing Your Exterior Door Frame is Essential
Sealing your exterior door frame is more important than you might think. It plays a key role in maintaining your home’s energy efficiency, protecting it from the elements, and ensuring your comfort.
Energy Savings
When your door isn’t sealed properly, conditioned air – whether heated or cooled – escapes. This means your HVAC system has to work harder to maintain your home’s temperature, leading to higher power bills. Think of all the small gaps and unsealed joints as tiny windows left open around your door. By sealing these, you keep the air you’re paying to heat or cool inside your home, making your HVAC system more efficient and saving on energy costs.
Protection Against the Elements
A poorly sealed door is like an open invitation to outside elements. Moisture, dust, insects, and even noise can easily enter through gaps between the door and its frame. Over time, this can lead to issues like water damage, pest infestations, and a generally unclean living environment. Sealing these gaps keeps your home safe from these unwanted intruders.
Improved Home Comfort
Drafts are a common problem with unsealed doors, making parts of your home feel cooler in winter or warmer in summer than they should. A simple test to check for drafts is to see if you can light coming through the edges of a closed door. If you can, it’s a clear sign that air (and energy) is escaping. Sealing these gaps not only helps maintain a consistent temperature throughout your home but also contributes to a more comfortable living space overall.
Conclusion
To sum up, sealing your exterior door frame is a great way to make your home more comfortable and energy-efficient. Following these simple steps – from taking safety measures, cleaning and preparing the frame, to putting in new sealant and weather stripping – can really make a difference. This project not only stops drafts but also helps your home stay warmer or cooler, saving you money on energy bills. It’s an easy, effective way to take care of your home.
Fact checked by Adrian Catalico – 1/25/2024