
Learning how to weatherproof an exterior door involves sealing gaps around the door frame, door jamb, and threshold to block drafts, prevent air leaks, and stop moisture from entering your home. You can do this by installing weatherstripping, adding a door sweep at the bottom of the door, sealing the threshold, and applying caulk around the frame. These steps help create a tight seal that improves your home’s energy efficiency and overall comfort.
A properly sealed exterior door protects your house from changing weather and reduces energy loss throughout the year. It also helps maintain indoor temperatures, lowers energy bills, and prevents long-term damage caused by moisture or cold air. In this guide, you will learn how to inspect, seal, and maintain your entry doors using simple methods and professional insights.
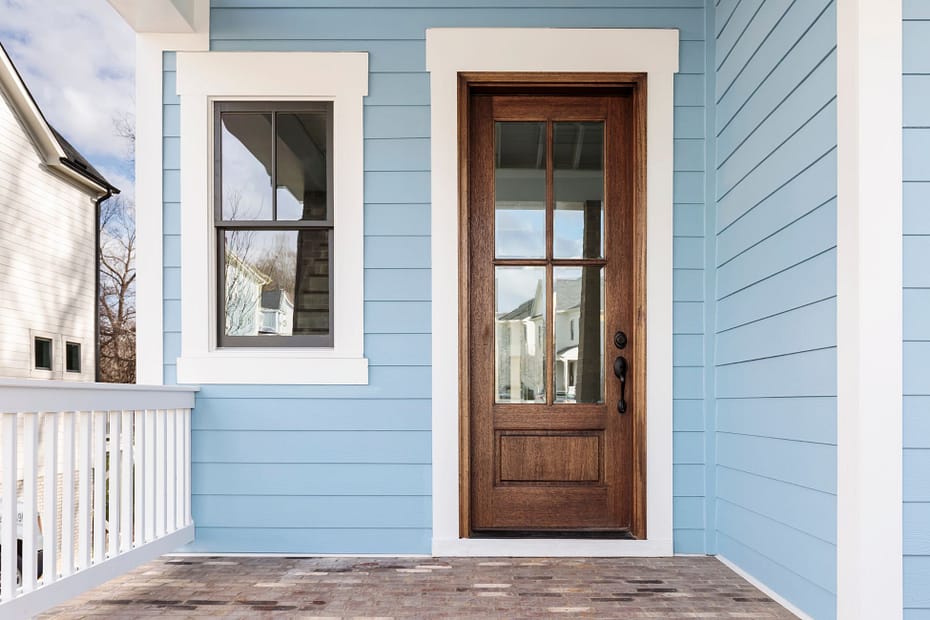
What It Means to Weatherproof an Exterior Door
Weatherproofing an exterior door means sealing all gaps around the door frame, door jamb, and threshold. The goal is to prevent air, water, and cold temperatures from entering your home. A tight seal improves insulation and keeps your indoor space comfortable.
When your front door does not sit flush, small gaps allow air to escape and enter. Over time, these gaps reduce your home’s energy efficiency and increase energy bills. Proper weatherproofing helps maintain overall comfort and protects your property from moisture damage.
Why Weatherproofing Your Exterior Door Is Important
Weatherproofing your front door plays a direct role in saving money on heating and cooling costs. Air leaks around entry doors force your system to work harder. This leads to higher energy bills and uneven temperatures inside the house.
It also protects your home from moisture and weather damage. Water ingress can damage wood, weaken the door frame, and cause cracks around trim. A properly sealed exterior door helps maintain your home’s comfort and extends the life of your door.
Signs Your Exterior Door Needs Weatherproofing
If your exterior door is not properly sealed, you will notice changes in comfort and performance. These signs often appear during winter or heavy rain.
Common Warning Signs
- Drafts near the edges of the door
- Light is visible around the door opening
- Water is entering near the bottom of the door
- Higher energy bills without a clear reason
- Worn weather strip or cracked, old caulk
These issues indicate that your door no longer has a tight seal. Addressing them early can prevent larger problems.
Where Exterior Doors Commonly Lose Air and Moisture
Most air leaks happen around specific areas of the exterior door system. Understanding these points helps you apply a precise application when sealing.
Key Problem Areas
- Door frame and trim
- Door jamb and strike plate area
- Bottom of the door and threshold
- Edges where the door meets the frame
These areas often shift due to frequent use or weather changes. Even small gaps can allow cold air and moisture to enter your house.
Tools and Materials You Will Need
Before you start, gather the right tools and materials. This makes the process smooth and helps you create a durable seal.
Basic Tools
- Utility knife – Used to cut weatherstripping, foam tape, and trim materials for a precise fit.
- Measuring tape – Helps measure the door frame and gaps so materials sit flush and seal properly.
- Screwdriver – Needed to install or adjust hardware like the door sweep or strike plate.
- Caulking gun – Allows controlled and precise application of exterior caulk to fill gaps cleanly.
Materials
- Weather strip (weatherstrip) – Seals gaps around the door frame to block drafts and prevent air leaks.
- Foam tape or rubber seal – Flexible, self-adhesive option that helps fill small gaps and create a tight seal.
- Door sweep – Installed at the bottom of the door to block drafts, moisture, and debris from entering.
- Threshold seal – Seals the gap between the door and floor, improving insulation and preventing water ingress.
- Exterior caulk – Used to seal cracks around the frame and trim, stopping air and moisture from entering.
These are the most common options used to weatherproof your front door. Choosing quality materials improves long-term performance.
Types of Weatherproofing Solutions for Exterior Doors
There are several ways to weatherproof an exterior door. Each solution targets a specific area where air leaks occur.
Main Options
- Weatherstripping for the door frame
- Door sweep for the bottom of the door
- Threshold seal for the floor connection
- Caulking for gaps around the frame
Weatherproofing Options Comparison
| Solution | Best For | Benefit |
| Weatherstripping | Door frame gaps | Helps block drafts |
| Door Sweep | Bottom of the door | Prevent air and water |
| Threshold Seal | Floor connection | Improves insulation |
| Caulking | Frame and trim gaps | Seals cracks and edges |
Using a combination of these solutions helps create an extra layer of protection.
Step-by-Step Guide on How to Weatherproof an Exterior Door
The first step is to inspect the entire door system. According to the U.S. Department of Energy, homeowners should first detect air leaks before applying weatherstripping to ensure proper sealing. Look for visible gaps, cracks, and worn materials. This helps you plan the right approach before starting installation.
Next, remove old materials like damaged weather strip or old caulk. Clean the surface to prepare for a precise application. A clean surface allows new materials to stick properly and form a tight seal.
Steps to Follow:
- Inspect the exterior door and door frame
- Identify gaps around the door opening
- Remove old caulk and worn weatherstrip
- Install new weatherstripping along the door jamb
- Attach a door sweep to the bottom of the door
- Seal the threshold where the door meets the floor
- Apply exterior caulk around the frame and trim
- Test for air leaks using light or touch
Following these steps helps you weatherproof your front door in a clear and structured way. It also helps create a tight seal that improves your home’s energy efficiency and overall comfort.
Common Mistakes to Avoid When Weatherproofing
Many homeowners make simple mistakes that reduce the effectiveness of their work. These mistakes can prevent a proper seal and allow air leaks to continue.
Mistakes to Watch For:
- Using the wrong size weather strip
- Skipping surface cleaning before installation
- Ignoring the threshold area
- Applying too much caulk
Proper installation requires attention to detail. Even small errors can affect your home’s energy efficiency and overall comfort.
How Door Material Affects Weatherproofing Performance
Different materials react differently to weather conditions. This affects how well your exterior door can maintain a tight seal.
Material Differences:
- Wood doors provide natural insulation, but may expand or crack
- Fiberglass doors are durable and resist moisture
- Steel doors offer strength but require proper sealing
Choosing the right material helps maintain insulation and reduce air leaks over time. It also supports better long-term performance.
DIY Weatherproofing vs. Professional Door Solutions
DIY weatherproofing works well for minor issues, especially when you are dealing with small gaps or worn materials. However, some situations require professional solutions, particularly when the problem affects the door’s structure, alignment, or long-term performance.
| Situation | DIY Weatherproofing Works | Hire a Professional |
| Type of Issue | Minor gaps and small air leaks | Large gaps or structural issues |
| Materials | Replacing the weatherstrip or foam tape | Full seal replacement or advanced materials |
| Installation | Installing a door sweep | The door does not sit flush |
| Performance | Quick fixes for blocking drafts | Persistent drafts after sealing |
| Overall Condition | The door is in good shape | Warped door or damaged frame |
When Weatherproofing Is Not Enough
Sometimes, sealing is not enough to fix the problem. Older doors or damaged systems may continue to leak air and moisture.
Signs You May Need a New Door
- Repeated air leaks after sealing
- Cracks in the door frame or wall
- Warping due to moisture
- Poor insulation despite repairs
Replacing the door may be the best option to restore your home’s energy efficiency and comfort.
Maintenance Tips to Keep Your Exterior Door Sealed
Regular maintenance helps you maintain a tight seal and prevent future problems. It also extends the life of your weatherproofing materials.
Simple Maintenance Steps
- Check the weatherstrip every season
- Replace worn or damaged seals
- Reapply caulk when cracks appear
- Clean the threshold and door edges
These simple steps help maintain your home’s comfort and reduce energy bills over time.
Conclusion
Learning how to weatherproof an exterior door is a practical way to improve your home’s energy efficiency and overall comfort. Sealing gaps, installing the right materials, and maintaining your door system can help block drafts and reduce energy loss. These steps also protect your home from moisture and weather damage.
At Madison Door, we help homeowners improve the performance of their entry doors with professional solutions. If your exterior door still has air leaks or does not sit flush, it may be time for expert installation or replacement. Request a quote today to explore durable, high-quality door options that support long-term comfort and energy savings.
FAQs
What is the best weatherstripping for exterior doors?
The best weatherstripping depends on your door type. Foam tape is easy to install, while rubber and tension seal options offer better durability.
How much does it cost to weatherproof an exterior door?
Yes, weatherproofing an exterior door is usually affordable. Most DIY projects cost between $20 and $100, depending on the materials used. Simple fixes like weatherstripping or a door sweep are low-cost, while professional repairs or full door replacements cost more.
Can you weatherproof an old or damaged door?
Yes, you can weatherproof an old door if the structure is still in good condition. Adding weatherstripping, sealing gaps, and installing a door sweep can improve performance. However, if the door is warped, cracked, or does not sit flush, replacement may be the better long-term solution.
How do you know if your door is properly sealed after weatherproofing?
You can check if your door is properly sealed by testing for drafts, light, or airflow. Close the door and look for visible light around the edges. You can also use your hand or a piece of paper to feel for air leaks. If no drafts are present, the seal is working effectively.