To paint an exterior door, remove it and take off hardware. Sand it, wipe clean, and apply primer. Once dry, use quality paint for two coats, letting each dry. Finally, reattach hardware and hang it back up.
Table of contents
Why Paint Your Exterior Door?
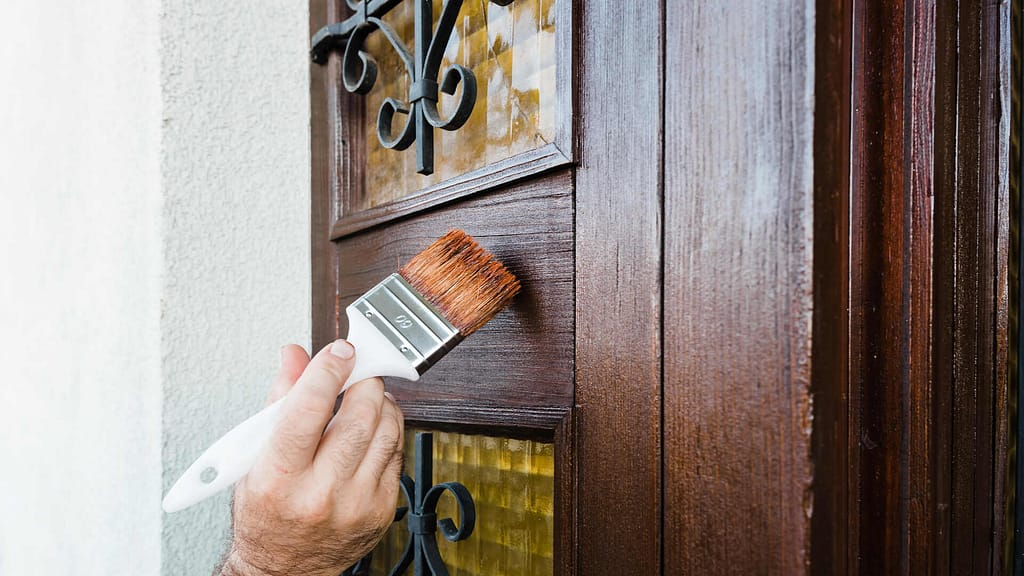
When it comes to home improvements, certain projects offer a transformative impact with minimal effort and investment. Painting your exterior door is one such endeavor that serves as a powerful yet simple way to breathe new life into your home’s appearance. But the benefits go beyond mere aesthetics. In this section, we’ll explore the reasons why giving your exterior door a fresh coat of paint should be high on your list of home upgrades.
Improve Your Home’s Look
Imagine pulling up to a home with a faded, chipped door. It doesn’t give off the best impression, does it? A fresh coat of paint instantly elevates your home’s exterior, creating a welcoming and inviting atmosphere. It’s a quick way to improve the overall aesthetics of your property.
Increase Resale Value
If you’re thinking of selling your home down the line, a freshly painted exterior door could boost its market value. Believe it or not, the appearance of your front door can significantly influence potential buyers. A well-painted, attractive door speaks volumes about the care and maintenance you’ve invested in your home. This could make your property more appealing in the real estate market, potentially increasing its resale value.
Extend Your Door’s Life
Exposure to the elements can take a toll on your door. From the harsh rays of the sun to the corrosive effects of rain and the freeze-thaw cycle of snow, your door faces a lot. These environmental factors can accelerate the wear and tear, gradually deteriorating its appearance and structural integrity.
Applying a fresh, quality coat of paint serves multiple purposes. Not only does it refresh the look, but it also forms a protective shield against these elements. This shield helps in preserving both wooden and metal doors, extending their longevity and reducing the need for frequent replacements or repairs.
Selecting the Right Paint
Selecting the right paint for your exterior door involves considering a range of factors to ensure durability, aesthetic appeal, and compatibility with your specific door material. Here are some criteria to guide your selection:
Finish
The finish you choose for your exterior door is pivotal in determining both its appearance and ease of maintenance. Gloss and semi-gloss finishes are a popular choice for their durability and ease of cleaning. However, they have a tendency to highlight any surface imperfections on the door. On the flip side, satin and eggshell finishes are more forgiving when it comes to masking flaws, but they are less durable and can be more challenging to clean.
Door Material
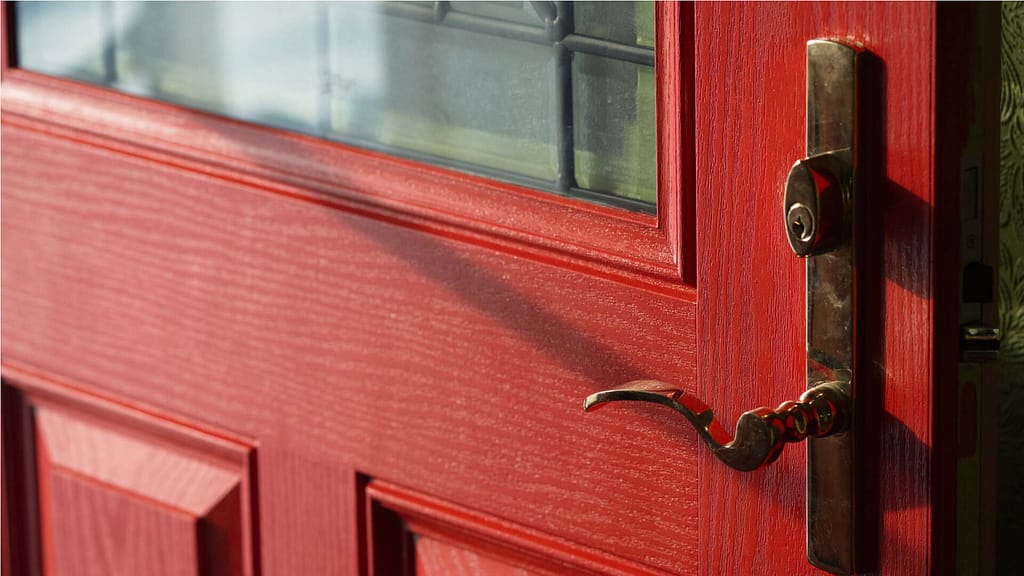
When embarking on the journey to paint your exterior door, it’s crucial to select the right paint that complements the door’s material. Not all paints are created equal, and what works excellently on a wooden door may not be the ideal choice for a metal one.
| Material | Type of Paint | Reasons |
| Wood | Acrylic-Latex | Durable, easy to clean, and allows the wood to breathe. |
| Metal | Oil-Based | Provides a hard, durable finish and excellent adhesion; less affected by the metal’s contraction and expansion due to temperature changes. |
| Fiberglass | Acrylic-Latex | Flexible and less prone to cracking; adheres well to fiberglass. |
| Composite | Oil-Based or Acrylic-Latex | Both offer good adhesion and flexibility. |
Whether your door is made of wood, metal, fiberglass, or composite material, each has its own unique requirements for durability, adhesion, and finish. By thoughtfully selecting the right paint type for your specific door material, you can ensure not only an aesthetically pleasing result but also a long-lasting finish that withstands the test of time.
Weather Resistance
When embarking on an outdoor painting project, one of the most important factors to consider is the paint’s weather resistance. Each type of paint offers distinct advantages and disadvantages when exposed to varying climatic conditions. Acrylic-latex paint, for instance, is flexible and retains its color well in sunny conditions, but it may require additional waterproofing measures if you live in an area with frequent rain.
Oil-based paints are another option, known for their durability and excellent adhesion, especially on metal surfaces. However, they can fade and chalk under prolonged UV exposure, so they may not be the best choice for extremely sunny climates. Water-based paints have the advantage of quick drying times and UV resistance, but they may lack the long-term durability needed for harsh weather conditions.
It’s essential to weigh these pros and cons carefully and possibly even consult a professional to determine which paint will offer the best performance for your specific geographical location and weather conditions.
VOC Content
When selecting paint for your exterior door, it’s important to also consider the Volatile Organic Compounds (VOCs) content. VOCs are chemicals that evaporate easily at room temperature and can be harmful to both your health and the environment. These compounds are often found in traditional oil-based paints and can contribute to air pollution and even respiratory issues over time.
If environmental impact and indoor air quality are concerns for you, opting for a low-VOC or zero-VOC paint is a smart choice. These eco-friendly options have been formulated to minimize harmful emissions without compromising on quality and durability.
HOA Regulations

If you’re part of a Homeowners’ Association (HOA), painting your exterior door isn’t as simple as picking a color and grabbing a paintbrush. HOAs often have specific guidelines that dictate the type of changes you can make to the external appearance of your home, and failing to adhere to these rules can result in fines or even legal actions.
- Color Choices: The most common regulation pertains to the color palette allowed by the HOA. Deviating from this palette could mean you’ll need to repaint the door and may face penalties.
- Finish: Beyond the color, some HOAs may even have stipulations about the type of paint finish—whether gloss, semi-gloss, satin, etc.—you can use on your exterior door.
- Approval Process: Some HOAs require you to attend a board meeting to present your case, while others may simply need a written request outlining your plans.
- Timing and Contractors: Many HOAs have restrictions about when home improvement tasks can be carried out, both in terms of time of day and seasons. You may also be required to hire from a list of pre-approved contractors to ensure quality work.
- Penalties: Non-compliance with any of the above guidelines can lead to a range of penalties. These can include fines, forced compliance, or even legal actions.
Before you invest time and money in your door-painting project, consult your HOA’s guidelines or bylaws and seek any necessary approvals. A little due diligence now can save you a lot of trouble later on.
Prepping the Door
Before you even open a can of paint, proper preparation is essential for achieving a flawless, durable finish on your exterior door. From unhinging the door and removing hardware to meticulous sanding and priming, each step in the preparation phase lays the groundwork for a successful painting project.
Door Removal and Setup
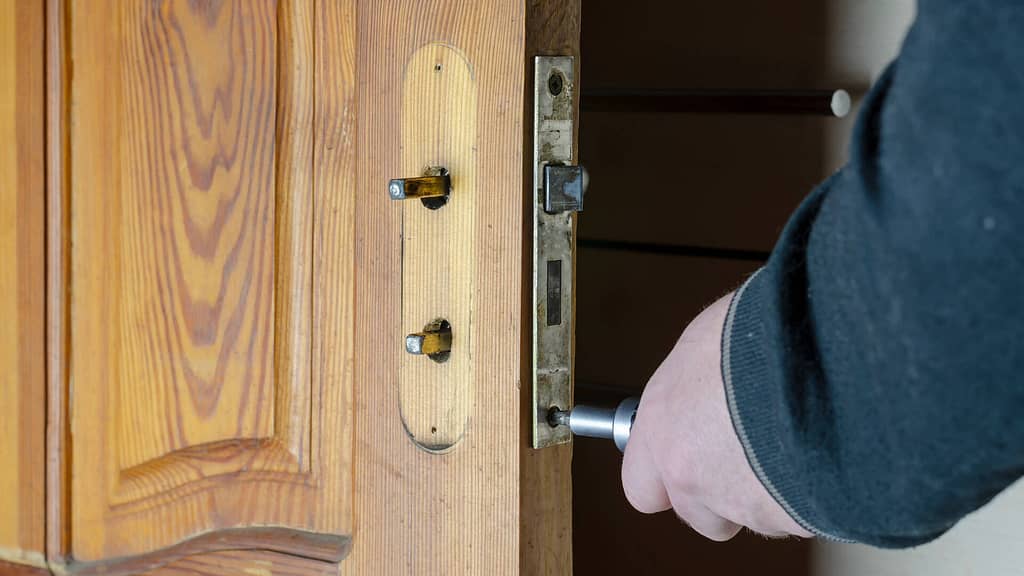
While this step is not strictly mandatory, taking off the hardware simplifies the painting process and contributes to a more polished final appearance. Start by unhinging the door and removing all hardware such as knobs and locks. Once that’s done, place the door horizontally on a flat surface like sawhorses. This not only aids in the even application of paint but also allows for optimal drying.
Sanding and Cleaning

The next crucial step is to prepare the door’s surface. Use medium-grit sandpaper to sand the door, stripping away old paint and smoothing out any imperfections. After sanding, give the door a good wipe-down using a mild detergent to eliminate any lingering dirt or grease.
Applying Primer
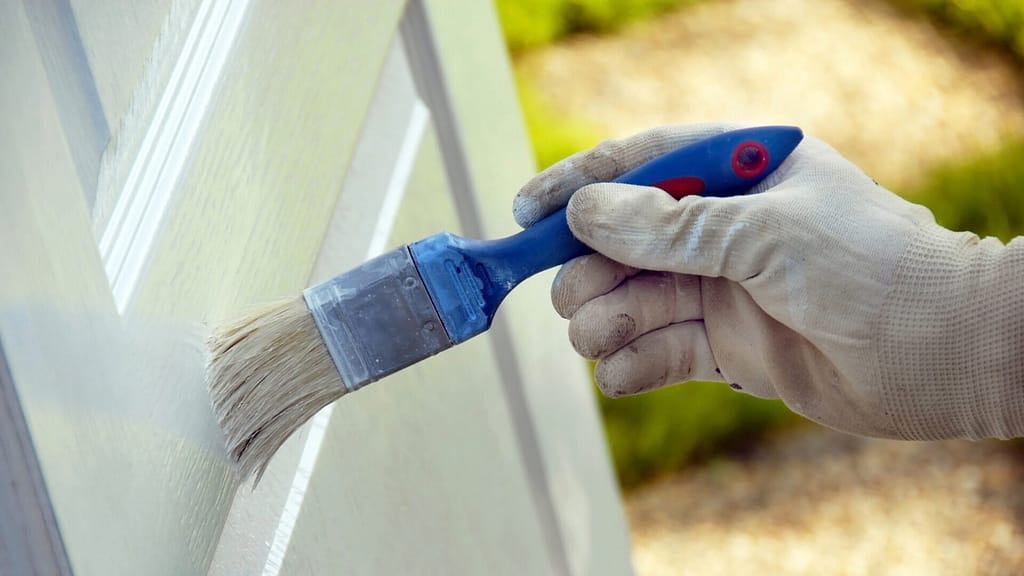
With the door’s surface clean and smooth, it’s time to prime. Apply a coat of primer that’s compatible with your door material and the type of paint you plan to use. Just like paint, primers come in different formulations suitable for various door materials. For wooden doors, an oil-based primer often provides a rich base. If your door is made of metal, a latex primer designed for exterior use works wonders. Allow the primer to fully dry before moving on to the painting process.
The Painting Process
Painting an exterior door may seem like a simple task, but it involves a series of critical steps that require meticulous attention to detail. From the initial coat to the finishing touches, each stage is essential for achieving a stunning, long-lasting result.
Applying the First Coat
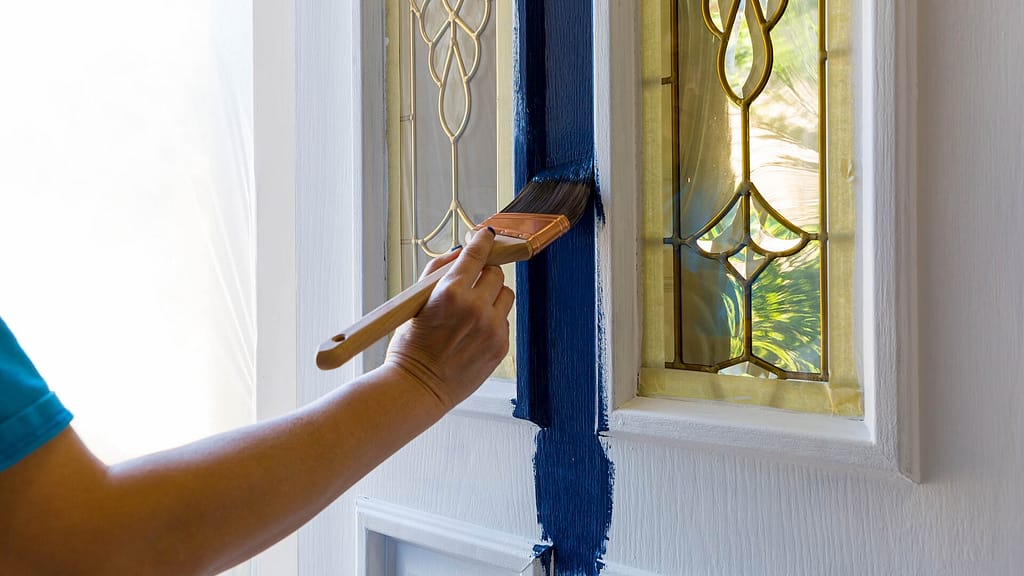
Once your primer is thoroughly dry, you’re ready to proceed with the initial coat of your selected paint. This first layer is pivotal in setting the stage for the final appearance, so it’s crucial to get it right. Start by thoroughly stirring the paint to ensure a consistent color and texture. Opt for high-quality brushes and rollers; these tools make a considerable difference in the evenness of the application.
Is it Better to Use a Roller or a Paint Brush?
When painting an exterior door, one question that frequently comes up is whether to use a roller or a paintbrush. The answer isn’t a simple one-size-fits-all; rather, it depends on various factors, including the surface you’re painting, your desired finish, and the specific paint you’re using.
Rollers offer the advantage of efficiency, allowing you to cover a large area quickly, and they often provide a more uniform finish. However, they fall short when it comes to precision, making them less suitable for intricate detailing and tight corners.
On the other hand, paintbrushes excel in control and versatility. They are your go-to for detailed work, but they can be more time-consuming and may leave brush marks if not used properly.
In many cases, the ideal approach combines both tools. Utilize a roller to apply paint to the larger, flat sections of your door, then switch to a paintbrush for corners, edges, and detailed areas.
Techniques for Even Application
A key factor in achieving a stunning, long-lasting paint job on your exterior door is the technique used during the application process. Here, we delve into some methods for ensuring an even, smooth finish.
- Maintain a Wet Edge: Always aim to keep a “wet edge” as you paint. This means applying fresh paint adjacent to areas that are still wet to avoid creating lap marks or streaks.
- Use Long, Straight Strokes: When using a brush, long, straight strokes are more effective than short, choppy ones. The former ensures an even application of paint, helping to avoid buildup or gaps.
- The ‘W’ Technique: If using a roller, begin by painting a large ‘W’ on the surface and then fill it in without lifting the roller. This approach helps distribute paint more evenly over large surfaces.
- Cross-Rolling: After applying paint in one direction, lightly go over it at a 90-degree angle. This process helps to eliminate roller marks and ensures a more consistent finish.
Applying Additional Coats
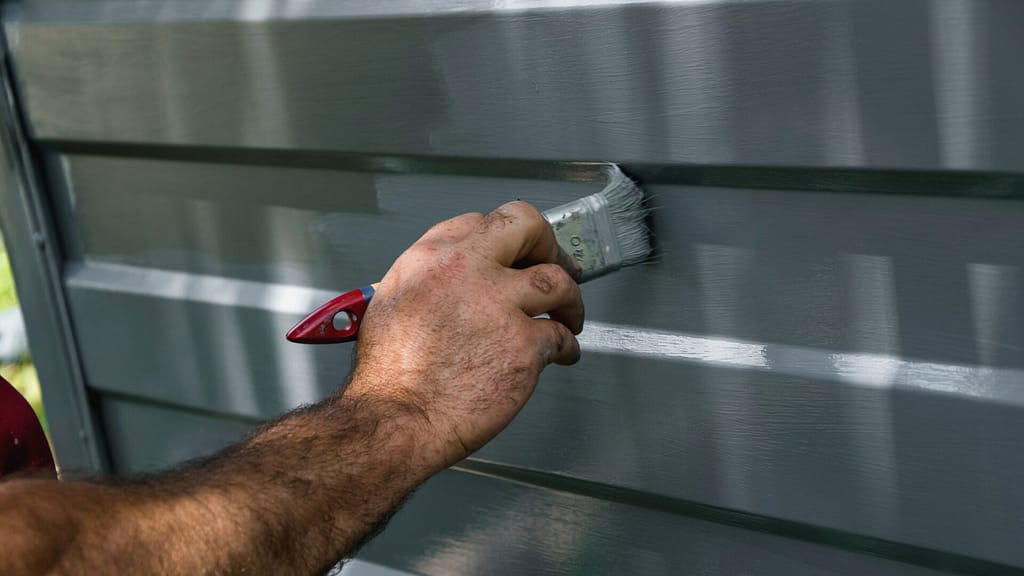
While the first coat sets the stage, additional coats seal the deal. These extra layers give your door its depth of color and enhance durability. Once the first coat is fully dry, a light sanding with fine-grit sandpaper will help prepare the surface for the next layer, making it easier for the paint to adhere. After sanding, be sure to remove any residual dust or debris using a tack cloth or slightly damp rag.
You’re now ready to apply the second coat, which should be done using the same careful technique employed for the first. If you’ve chosen a darker or more vibrant color, you may find that additional coats are necessary to achieve the desired depth and uniformity of color. After the final coat has dried, a protective sealer or topcoat can offer added resilience, particularly for doors that are exposed to the elements.
Wrapping It Up
You’ve navigated the meticulous process of painting your exterior door, and now it’s time to bring it all full circle by reassembling and rehanging your door. While these final steps may appear straightforward, they are crucial in preserving the integrity of your newly refreshed door.
Hardware Re-installation
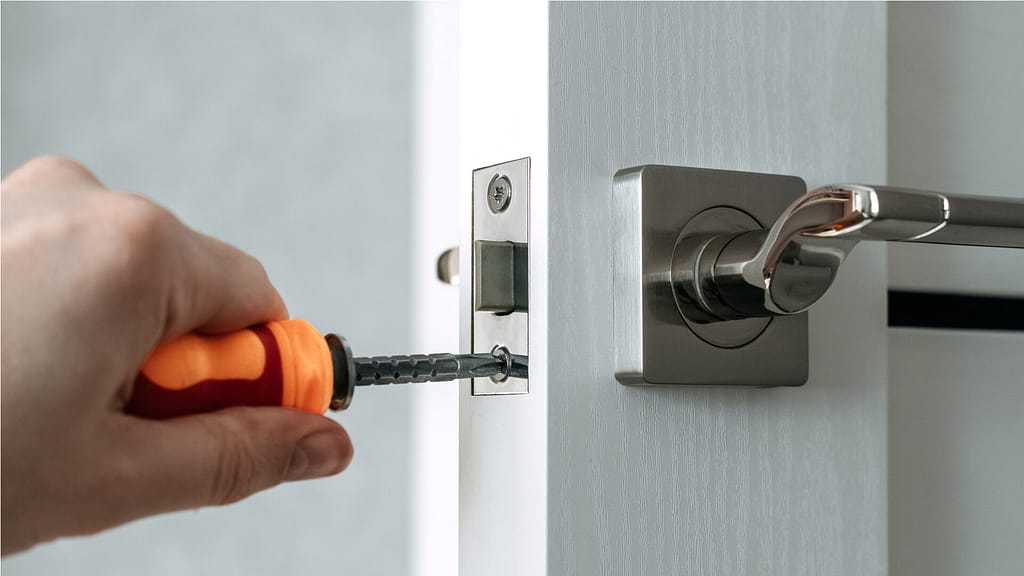
After the final coat of paint has completely dried and you’re satisfied with the appearance of your newly painted door, it’s time to move on to the next step: hardware re installation. Reattaching the hardware may seem straightforward, but a few precautions can prevent damaging your fresh paint job.
Before you begin, ensure that the hardware itself is clean and in good condition. If it’s tarnished or worn, now may be a good time to either polish or replace it. When screwing the hardware back into place, take care not to over tighten, as this can chip the paint.
Putting the Door Back
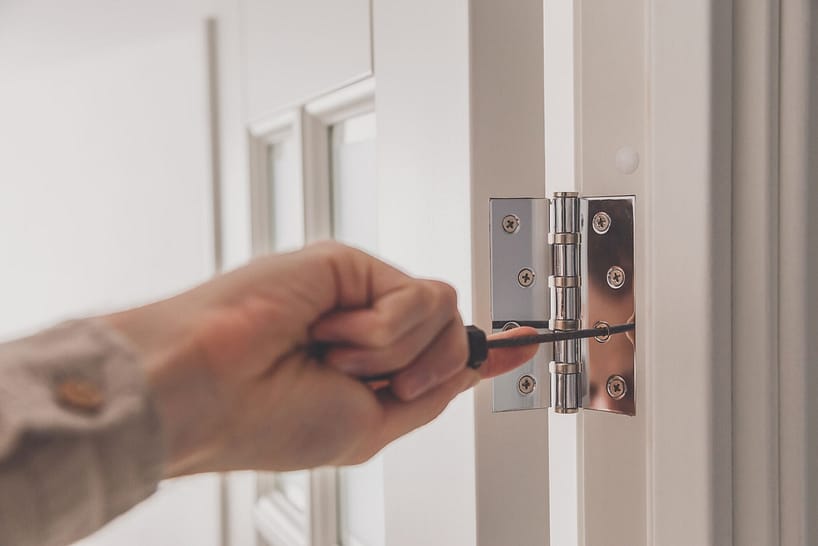
The final step in your exterior door painting project is rehanging the door. While it might seem like a simple reversal of the removal process, there are a few points to bear in mind. It’s advisable to have a helper for this step, as doors can be heavy and awkward to maneuver alone.
Start by aligning the door with the hinges and inserting the hinge pins. It’s a good idea to lightly grease the pins for smoother operation. Carefully lower the door onto the hinge plates, taking caution not to scrape or chip your new paint job. Once the door is hanging freely, test its swing to make sure it opens and closes properly. Adjust as necessary, tightening all screws securely.
And there you have it—your door is back in place, sporting a fresh coat of paint and ready to greet visitors or potential home buyers with added curb appeal.
Conclusion
It’s clear that the process of painting an exterior door is more than a simple weekend project—it’s an investment in your home’s future. From elevating its visual appeal to adding a layer of protection against the elements, the benefits are multifaceted. While there are various factors to consider—such as paint type, weather resistance, and even community regulations—the outcome provides both immediate and lasting rewards.
So, if you’re considering ways to enhance your home, don’t overlook the power of a freshly painted exterior door. It’s not just a detail; it’s a statement. Whether you’re enjoying the improved ambiance yourself or capturing the attention of potential buyers, a well-painted door can set the tone for what lies behind it, making your home unforgettable for all who enter.
Fact checked by Joseph Castro – 9/5/23
