
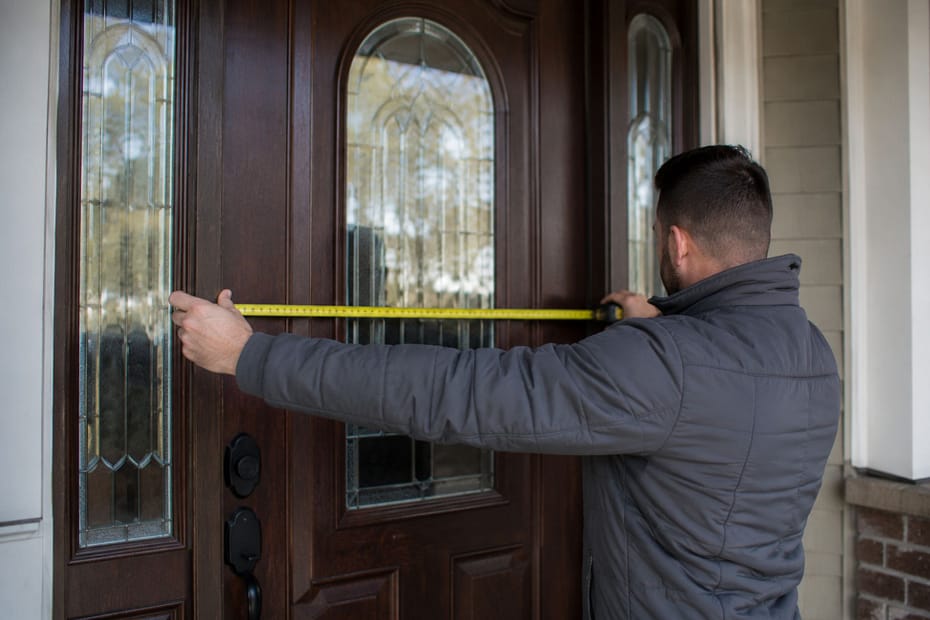
Learning how to measure for a replacement door starts with deciding whether you are replacing only the door slab or the complete prehung door system. You will then need to record the relevant width, height, thickness, jamb depth, hardware locations, door swing, and handing. Treat these as preliminary measurements and confirm them against the selected manufacturer’s specifications before ordering.
This guide explains how New Jersey homeowners can measure both replacement types, document an uneven opening, and distinguish between slab, unit, and rough-opening dimensions. Madison Door can review clearly labeled measurements and photographs before a professional verifies the final dimensions. Qualified homeowners may also have access to financing options. Confirm current eligibility and terms directly with Madison Door.
Are you replacing the door slab or the complete door system?
Determine what you are replacing before measuring because slab and prehung doors require different dimensions.
Door slab replacement
A door slab replacement changes only the door panel while keeping the existing frame, jambs, and threshold. Measure the slab’s width, height, and thickness, along with the hinge size and locations, lockset, deadbolt, backset, swing, and handing. This option works best when the existing frame is square, stable, and undamaged.
Prehung door replacement
A prehung system includes the door slab, frame, jambs, hinges, threshold, and weatherstripping. Measure the rough-opening width and height, jamb depth, sill condition, door swing, handing, and any sidelights or transoms.
Do not treat the rough-opening measurement as the product order size. Compare it with the exact manufacturer’s specifications and required installation clearance.
In older homes, an existing slab may have been trimmed, planed, or adjusted to fit a settled frame. Copying the slab dimensions without checking the frame can reproduce the same alignment or sealing problem. Confirm that the jambs, sill, and threshold are still suitable before choosing a slab-only replacement.
Do you need a new slab, frame repairs, or a complete door system?
A damaged or poorly operating entry door does not always require a complete prehung replacement. A new slab may be sufficient when the frame, jambs, sill, and threshold are square, stable, and undamaged.
Frame deterioration, recurring water intrusion, an uneven sill, or an opening that cannot hold alignment may require repairs or a complete prehung system. Have the entry inspected when the cause of the problem is unclear.
What tools do you need to measure a replacement door?
You only need a few basic tools to take preliminary door measurements, but each measurement should be recorded and clearly labeled.
Prepare the following items:
- A reliable tape measure
- A pencil or pen
- A notepad or measurement worksheet
- A level
- A flashlight
- A step ladder, when needed
- A camera or smartphone for reference photographs
The tape measure is the most important tool, but the level helps identify uneven sills and out-of-plumb frame sections.
Take photographs of the door from both the interior and exterior. Also photograph the threshold, hinges, lockset, surrounding trim, sidelights, and any visible damage.
Clear photographs can help a door professional understand the existing configuration before visiting the property.
How do you measure an existing door slab?
Measure the slab’s width and height from the door face, then open the door to record its thickness, hinges, lock preparation, backset, swing, and handing. Use the same reference edge for every hinge and hardware measurement.
1. Measure the slab width
First, measure the slab from one vertical edge to the other near the top, middle, and bottom. Record all three readings and avoid measuring the decorative trim. Different readings may indicate warping or earlier alterations.
2. Measure the slab height
Next, measure from the slab’s top edge to its bottom edge on both sides. Exclude any removable door sweep, and record both measurements.
3. Measure the door thickness
Then, measure the slab’s thickness along its vertical edge. The new slab must match the existing jamb, hinges, latch, and hardware.
4. Record the hinge preparation
After that, record each hinge’s size, location, corner shape, and screw-hole pattern. Measure from the slab’s top edge to the top of each hinge recess. Use the same reference point for every hinge.
5. Measure the lock and deadbolt locations
Next, measure from the slab’s top or bottom edge to each lock bore’s center. Also, record the backset from the door edge to the lock bore’s center. Matching width and height alone will not guarantee correct hardware alignment.
6. Confirm the swing and handing
Finally, record the hinge side as viewed from outside the home, the handle side, and whether the door swings inward or outward. Photograph the open door from both the interior and exterior. Because manufacturers may describe door handing differently, match the recorded configuration to the selected manufacturer’s handing diagram before ordering.
Hardware preparation is one of the most common failure points in slab-only replacement. Two slabs can share the same width and height but still be incompatible because of different hinge spacing, hinge-corner shapes, bore locations, backsets, edge bevels, or deadbolt positions.
How do you measure a rough opening for a prehung door?
Measure the rough opening between the structural framing members, not between the decorative casing, brickmould, or other visible trim. Because the framing is normally concealed, obtaining a true rough-opening measurement may require limited casing removal.
Do not remove trim when doing so could damage masonry, stucco, siding, wiring, or finished surfaces. In that situation, record the visible door-unit dimensions and request professional verification of the concealed opening.
1. Measure the rough-opening width
First, measure between the framing members at the top, middle, and bottom. Record all three readings and identify the smallest width. That number shows the limiting space, not the product size to order.
2. Measure the rough-opening height
Next, measure from the structural sill or subfloor to the underside of the header. Take readings on the left, center, and right.
Record each result and identify the smallest height. Account for planned flooring changes because they can affect threshold clearance and door operation.
3. Check whether the sill is level
Then, place a level across the sill. An uneven sill may require correction before installation because it can prevent the door frame from sitting square and from maintaining consistent clearance around the slab.
4. Check whether the sides are plumb
After that, check both vertical sides with a level. The sides may lean even when the opening has sufficient width. The Fenestration and Glazing Industry Alliance installation guidance calls for exterior door units to be installed plumb, level, and square. An opening that is out of alignment may need correction before installation because misalignment can affect clearances, operation, and air sealing.
5. Measure the diagonals
Next, measure from the upper-left corner to the lower-right corner. Then, measure from the upper-right corner to the lower-left corner.
Similar readings suggest a reasonably square opening. A clear difference may indicate shifted framing. Record both measurements instead of averaging them.
6. Compare the measurements with the product specifications
Finally, compare every measurement with the exact product’s unit size and rough-opening requirements. Manufacturers often require different installation clearances.
Two doors with the same nominal slab size may have different frame dimensions. Measure every key point twice before requesting a quote or placing an order.
What is the difference between slab size, unit size, and rough-opening size?
Slab size, unit size, and rough-opening size describe separate parts of an entry door system and should not be used interchangeably.
| Measurement | What It Describes | Why It Matters |
| Nominal slab size | The labeled width and height of the door panel | Used when discussing common door sizes |
| Actual slab size | The panel’s precise physical dimensions | Required for slab-only replacement |
| Unit size | The outside dimensions of the complete prehung frame | Determines whether the assembled system can fit |
| Rough-opening size | The structural opening between framing members | Compared with the product’s installation requirements |
| Jamb depth | The finished wall depth that the jamb must cover | Helps the frame align with finished wall surfaces |
| Brickmould size | The outside dimensions of the exterior casing | Helps evaluate exterior trim coverage |
A door described as 36 by 80 inches usually refers to its nominal slab size. It does not mean that the complete frame or structural opening measures exactly 36 by 80 inches.
The rough opening normally needs to be larger than the complete unit. This extra space allows the installer to position, level, square, secure, and insulate the frame. Never place an order based only on the nominal slab size.
How do you measure jamb depth correctly?
Measure jamb depth across the finished wall opening, excluding decorative casing and exterior brickmould.
Measure from the exterior edge of the side jamb area to the matching interior edge. This gives the wall depth that the new frame must cover.
Check several locations when wall finishes vary, siding has multiple layers, or the frame has been altered. Also measure again when added paneling or uneven trim changes the opening depth.
Incorrect jamb depth can leave the frame recessed or extending past the finished wall. A jamb extension may correct some differences, but confirm the required setup before ordering.
What are common entry-door sizes?
A 36-by-80-inch entry door is a common nominal size, but available dimensions vary by manufacturer, product line, configuration, and material. A nominal slab size does not establish the dimensions of the complete prehung unit or its required rough opening.
Older or previously remodeled homes may also have altered openings, added flooring, modified thresholds, sidelights, or replacement frames. Measure the actual entry system and verify the exact product specifications rather than ordering from an assumed standard size.
What are the most common replacement-door measuring mistakes?
The most common mistakes involve measuring the wrong area or confusing rough-opening dimensions with the final order size.
Avoid these errors:
- Measuring decorative trim instead of the structural framing
- Checking the width or height in only one location
- Averaging unequal measurements instead of recording each reading
- Confusing nominal slab size, unit size, and rough-opening size
- Treating the smallest rough-opening measurement as the product order size
- Measuring from finished flooring when the required reference point is the subfloor
- Forgetting planned flooring changes or threshold clearance
- Ignoring an uneven sill, a leaning jamb, or unequal diagonal measurements
- Omitting hinge, lock, backset, swing, or handing details
- Ordering before checking the exact product’s sizing and installation requirements
Also, label every measurement clearly. A note reading “36 inches” does not identify the slab, frame, unit, or opening.
Even a small error can affect alignment, sealing, threshold clearance, hardware operation, and installation quality. Incorrect measurements can also leave gaps between the door unit and the structural opening. U.S. Department of Energy guidance identifies these spaces as potential air-leakage locations and recommends sealing them with appropriate caulk, backer rod, or low-expansion foam designed for windows and doors.
When should you call a professional?
Call a professional when the opening is damaged, uneven, custom, difficult to access, or part of a complex entry system.
Professional measurement is especially helpful for out-of-square openings, uneven sills, varying jamb depths, or concealed framing. You should also get help when removing trim that could damage masonry, siding, or interior finishes.
Doors with sidelights, transoms, altered frames, rot, or unusual weight also need careful verification. The same applies when changing the swing or ordering a custom door.
A professional can confirm whether the existing frame should remain or the complete prehung system needs replacement. This review can prevent costly errors, especially because custom doors may not be returnable.
What should you do after measuring the door?
Create one labeled record that includes the replacement type, slab or rough-opening dimensions, jamb depth, sill condition, diagonal measurements, swing, handing, hardware locations, and any sidelight or transom details.
Attach clear interior and exterior photographs of the full entry, threshold, hinges, hardware, trim, and visible damage. Compare the record with the exact product’s unit dimensions and rough-opening requirements.
Madison Door can review preliminary measurements and photographs for homeowners in Madison and nearby New Jersey communities, but final dimensions should be verified before any door is ordered.
Key Takeaways
- Decide whether you need a slab or a complete prehung unit before measuring.
- Record width and height in several places rather than relying on one reading.
- For a slab, document thickness, hinges, lock preparation, backset, swing, and handing.
- For a prehung unit, document the rough opening, jamb depth, sill, diagonals, swing, and handing.
- Treat preliminary measurements as project-planning information, not as the final order size.
- Verify every dimension against the exact product specifications before ordering.
FAQs
Do I measure the door or the frame?
Measure the existing door panel when replacing only the slab. Measure the structural opening and jamb depth when replacing the complete prehung system. The correct method depends on which parts will remain.
Is the rough-opening measurement the size I should order?
No. The rough opening describes the available structural space. The replacement unit must fit inside that opening while allowing the installation clearance specified by the manufacturer.
How accurate should door measurements be?
Record each dimension to the nearest 1/16 inch when your tape measure allows, and repeat every critical measurement. For hinge and lock preparation, use the same reference edge for every reading and confirm the tolerances required by the selected manufacturer.
What should I do when the measurements are uneven?
Record each measurement without averaging it. The smallest width and height show the limiting dimensions, while the differences may indicate an uneven or out-of-square opening that needs professional review.